The Ham That Stole Christmas: A Flavorful Adventure
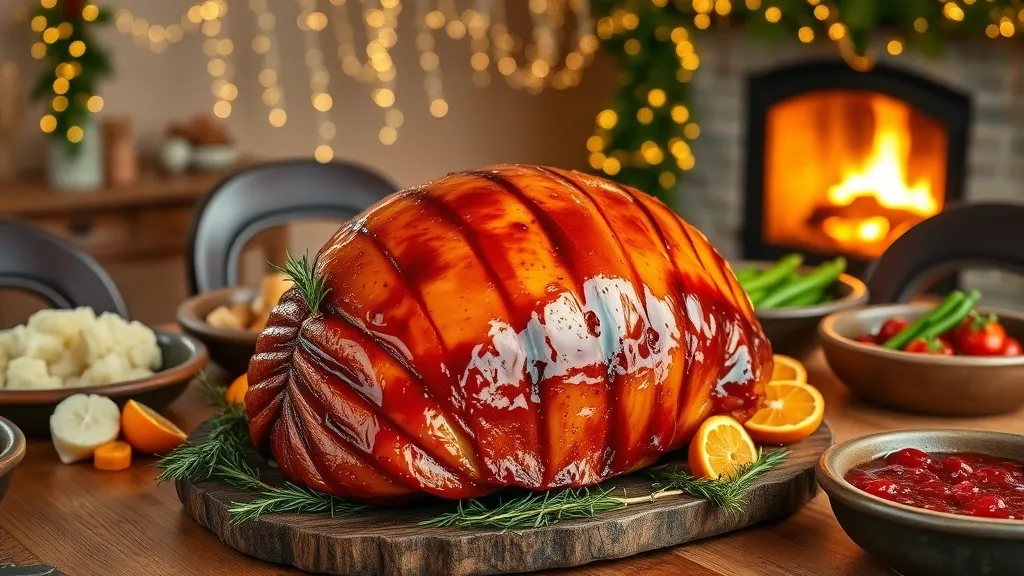
Ah, the holiday season! It’s that magical time of year when twinkling lights, cozy sweaters, and the smell of roasting ham fill the air. Seriously, is there anything better? I mean, with all the hustle and bustle, the real star of the show is often that juicy, glazed ham sitting at the center of the table, just waiting to be devoured.
Now, let’s talk about why the ham is the real MVP. It’s not just about the looks—though, let’s be honest, a beautifully glazed ham can steal the spotlight from even the fanciest Christmas tree. The flavors are where it’s at! When you bite into that succulent meat, it’s like a savory explosion of joy. If you’ve never experienced this joy, well, my friend, you’re missing out.
So, how do you make sure your ham is the one that everyone raves about for years to come? First off, you gotta pick the right ham. I mean, it’s like picking a partner; you want one that looks good, but also has a great personality. Go for a quality bone-in ham; they’re usually more flavorful and just scream “I’m ready to be the life of the party!”
- Glaze it up: The glaze is where you can really get creative. Whether you like a sweet and sticky brown sugar glaze or something with a hint of spice, don’t hold back. Experiment! Just remember, a little goes a long way.
- Don’t forget the sides: Ham is great on its own, but pairing it with some roasted veggies or a cheesy potato bake takes it to a whole new level. It’s like giving the ham a supporting cast that really brings out its best.
- The leftovers: Let’s be real, the best part of making a ham is the leftovers. You can whip up sandwiches, throw it in a soup, or just snack on it straight from the fridge at midnight. Who doesn’t love a midnight ham raid?
In the end, the ham isn’t just a dish—it’s a holiday tradition, a centerpiece of laughter, and sometimes, the source of family debates over who gets the last slice. So, roll up your sleeves, channel your inner chef, and prepare for a culinary adventure that’ll have everyone talking long after the last present is unwrapped. Who knew a big hunk of meat could bring so much joy? Cheers to that!
Crafting the Perfect Glaze: Sweet, Savory, and a Little Spicy
Alright, let’s talk glaze. It’s honestly one of the best parts of making a Christmas ham. I mean, who doesn’t love that shiny, sticky goodness that makes your ham look like it just walked off a fancy magazine cover? There’s just something about a good glaze that can take your holiday dinner from “meh” to “OMG, this is amazing!” in no time. Plus, it’s super easy to whip up, so let’s dive in!
First off, you’ve got the classic sweet glazes. Think brown sugar, honey, or maple syrup. These ingredients just scream holiday vibes, right? You can mix them with a splash of orange juice or some pineapple for an extra zing. I once tried a glaze with cranberry juice, and let me tell you, it was a game-changer. Sweet, tangy, and just the right amount of festive. Seriously, if you’re not using cranberries, are you even celebrating Christmas?
Now, if you’re feeling a bit adventurous, why not throw in some savory elements? A hint of Dijon mustard or soy sauce can add depth to that sweetness. It’s like the glaze is saying, “Hey, I’m not just here to be pretty; I’ve got some serious flavor going on!” I like to toss in a pinch of garlic powder, too. Just a little—don’t want to scare off your relatives, right? But trust me, it’s worth it.
And then, there’s the spice factor. A little heat can make everything better! I’m talking about a dash of cayenne or even some crushed red pepper flakes. It’s like a surprise party for your taste buds. You take a bite, and BAM! There’s that warm kick. Pairing sweet and spicy can create this incredible balance that keeps people coming back for more. I mean, who doesn’t love a little kick, especially when it’s paired with all that sweet goodness?
- Sweet Glaze: Brown sugar, honey, maple syrup, and fruit juice.
- Savory Twist: Add mustard, soy sauce, or garlic powder.
- Spicy Kick: A sprinkle of cayenne or red pepper flakes.
So, as you prepare your glaze, don’t be afraid to get a little creative. Mix things up, taste as you go, and make it your own. After all, this is your holiday ham, and you want it to reflect your style. The perfect glaze isn’t just a recipe; it’s an experience. And who knows? You might just create a new family tradition. Happy glazing!
The Art of Cooking: Techniques to Ensure Juiciness and Flavor
Alright, let’s dive into the juicy stuff! Cooking a ham can feel kinda intimidating, but trust me, it’s easier than you think. The key is all about the techniques that keep it moist and packed with flavor. And who doesn’t want a ham that’s so good it makes you wanna dance in your kitchen? (Okay, maybe that’s just me.)
First off, let’s talk about brining. If you haven’t tried it yet, you’re missing out. Brining involves soaking your ham in a salty solution, which helps it retain moisture during cooking. It’s like giving your ham a spa day before the big feast. You can whip up a simple brine with water, salt, sugar, and some spices—think garlic, bay leaves, and maybe a touch of honey for sweetness. Just give it a night in the brine, and you’ll be amazed at how juicy it turns out.
Next up, let’s get into the cooking method. Low and slow is the name of the game here. If you can, use a roasting pan or even a slow cooker. The idea is to cook your ham at a lower temperature for a longer time. This way, the fat has time to melt into the meat, making it tender and flavorful. I mean, who wants dry ham? Not me, that’s for sure. If you can keep your cooking temperature around 325°F (about 160°C), you’re golden.
And here’s a little tip: basting is your friend. Every 30 minutes or so, take a baster and pour some of those delicious juices over the ham. It’s like giving it a little love, and it helps build that caramelized crust we all dream about. Just be careful not to open the oven too often; you don’t want to lose all that heat!
- Glazing: Oh boy, don’t skip the glaze! A good glaze adds that sweet, sticky layer that makes your ham look and taste amazing. You can go classic with brown sugar and mustard, or get adventurous with maple syrup or even a bit of orange juice.
- Resting: After you take your ham out of the oven, let it rest for at least 20 minutes. I know it’s hard to wait when the smell is wafting through the house, but trust me, it lets the juices redistribute. You’ll thank me later.
So there you have it! With these techniques, your Christmas ham will be the star of the show. Just remember, cooking is all about having fun and experimenting. So don’t stress too much—enjoy the process, and get ready to impress your friends and family!
Slicing into Happiness: Serving Tips and Leftover Magic
Alright, so you’ve nailed the Christmas ham and it’s time to serve it up. There’s something about slicing into that beautiful golden-brown crust that just makes you feel like a total rockstar in the kitchen. But let’s talk about how to actually slice it and serve it without making a mess. Nobody wants to be that person who leaves the whole thing looking like a crime scene, right?
First off, grab a sharp knife. I mean, seriously, don’t even think about using a dull one. You want clean slices that are Instagram-worthy. Start by cutting off the bone; it’s easier to carve if you remove the bone first. Then, slice across the ham to get those lovely, even pieces. Aim for about half an inch thick, but hey, if you’re feeling a little extra, go thicker! You do you.
Now, let’s chat about presentation. You could just dump the slices on a plate and call it a day, but where’s the fun in that? Arrange those slices like you’re trying to impress your in-laws (or at least your dog). A nice platter, some fresh herbs, maybe a few pineapple rings for that retro vibe…you get the idea. It’s all about making it look good because we eat with our eyes first, right?
And speaking of eyes, don’t forget to have some sides on deck! A good ham needs some good company. Think roasted veggies, creamy mashed potatoes, or a bright salad. Your guests will thank you, and you’ll look like a total culinary genius.
Now, onto the leftover magic. Honestly, leftover ham is like a gift that keeps on giving. You can toss those slices into breakfast scrambles, sandwiches, or even a hearty soup. Pro tip: a ham and cheese omelet? Pure bliss. If you’re feeling adventurous, try a ham and pineapple pizza. Seriously, don’t knock it ‘til you try it!
When it comes to storing leftovers, make sure to wrap them up tight. You don’t want that delicious ham to dry out. I usually just pop it in an airtight container or wrap it in foil. And let’s be real, leftover ham can last a while in the fridge, but I doubt it’ll last long with how tasty it is!
So there you have it! Carving and serving your Christmas ham isn’t rocket science, but it’s definitely an art. And the best part? The leftovers just mean more delicious meals down the line. Enjoy!