The Magical Alchemy of Ingredients: Flour, Water, Yeast, and a Dash of Love
Alright, let’s talk about the basics—the holy trinity of bread-making: flour, water, and yeast. It’s like the bread version of the Avengers, ready to save your baking day! Each ingredient plays its role, and together, they create something magical.
First up is flour. You can’t make bread without it, right? But not all flours are created equal. All-purpose flour is the go-to for most folks, but if you really wanna kick it up a notch, try bread flour! It’s got a higher protein content, which means more gluten, and gluten is what gives bread its chewy texture. Seriously, it’s like the stretchy superhero of the baking world. Just think of it as the difference between a regular t-shirt and a super stretchy one—both are cool, but one lets you reach for that extra slice of pizza without fear!
Then there’s water. Ah, good ol’ H2O. It’s not just there to hydrate you while you’re baking; it’s essential for activating the yeast and bringing the flour to life. Warm water is your best friend here—it wakes up the yeast and gets it all bubbly and excited. Just don’t go overboard with the heat, or you’ll end up with a sad, inactive yeast. No one wants that!
Speaking of yeast, let’s give it a moment. This little fungus is basically the unsung hero of the bread world. It ferments sugars and produces carbon dioxide, which makes your dough rise and gives bread that lovely airy texture. You can use fresh yeast or dry yeast; both work wonders, but you might find dry yeast a bit easier to handle. It’s like the introvert of the yeast family—just add it to the mix, and it’ll do its thing without needing much attention. But remember, patience is key! Give it time to work its magic.
- Flour: The backbone of your loaf.
- Water: The life-giver.
- Yeast: The magical creature that makes it all rise.
And let’s not forget about that dash of love. Seriously, it sounds cheesy (pun intended), but the energy you put into your bread-making really shows in the final product. Knead with intention, shape with care, and maybe even hum a little tune while you’re at it. Your bread deserves it!
So there you have it—the simple yet powerful ingredients that come together to create something delicious. It’s like a little science experiment in your kitchen, and the best part? You get to eat the results! What’s not to love?
Knead to Succeed: The Art and Science Behind the Perfect Dough
Alright, let’s dig into the nitty-gritty of dough-making. Kneading might sound like a chore, but trust me, it’s where the magic happens. Picture this: you’ve got your ingredients all mixed up, and now it’s time to roll up your sleeves and get down to business. Kneading is not just about working out your frustrations (though it can help with that, too!). It’s about developing that gluten network that gives bread its structure and chewiness. Who knew science could be so delicious?
So, what’s the deal with gluten? When you mix flour with water and start kneading, the proteins in the flour—glutenin and gliadin—come together to form gluten. Think of it as a stretchy, elastic web that holds everything together. If you skip this step or don’t knead enough, your bread could end up flat and sad, like a deflated balloon at a kid’s party. No one wants that!
Now, there are a couple of ways to knead. You can go old-school by hand, which is kinda therapeutic if you’re into that sort of thing. Just make sure to flour your surface a bit so you’re not wrestling with a sticky monster. Or, if you’re feeling lazy (we’ve all been there), you can use a stand mixer with a dough hook. Just set it and forget it for a bit, but don’t walk away too far—you don’t want to end up with dough splattered all over your kitchen!
- Check the texture: After about 10 minutes of kneading, your dough should be smooth and elastic. If it’s sticky, sprinkle a bit more flour. If it’s too dry, add a splash of water.
- The windowpane test: To see if you’ve kneaded enough, take a small piece of dough and stretch it out. If it forms a thin, translucent sheet without tearing, you’re golden!
And here’s a pro tip: don’t rush the process. Kneading is kinda like life—sometimes you gotta put in the work to see the results. So, embrace the mess and enjoy the journey. Remember, every knead counts!
In the end, getting that perfect dough is part art, part science, and a whole lot of love. Once you’ve nailed it, you’ll be well on your way to baking the 900g loaf of your dreams. Now, let’s get back to that dough and make some bread magic happen!
Rise and Shine: Mastering the Fermentation Dance
Alright, let’s talk about fermentation—the magical process that turns simple ingredients into that irresistible loaf we all crave. If you’re new to bread-making, you might think fermentation is just a fancy term for waiting around, but it’s so much more than that. It’s like a dance party for your dough, and trust me, you wanna be the life of that party!
First off, you gotta understand that fermentation isn’t just some “set it and forget it” deal. It’s all about nurturing your dough. You’ve got your yeast, which is basically the DJ, spinning those tracks and getting the party started. When you mix in water and flour, the yeast wakes up and starts munching away on the sugars. The result? That lovely gas that makes your dough rise. It’s like those little yeast critters are having a blast, and we’re just here for the show!
- Timing is Key: Don’t rush it! Good things take time, and bread is no exception. Depending on the temperature in your kitchen, fermentation can take anywhere from a couple of hours to an overnight affair. If you’re like me and tend to be impatient, just remember: the longer you let it ferment, the better the flavor. It’s worth the wait!
- Temperature Matters: Speaking of temperature, keep an eye on that. Yeast loves a cozy 75°F to 85°F (24°C to 29°C). Too hot, and they’ll throw a rager and die off; too cold, and they’ll just chill out, not doing much of anything. It’s all about finding that sweet spot.
- Don’t Forget the Stretch and Fold: This is where you really get to interact with your dough. Instead of just letting it sit there, give it some love! Stretch and fold the dough every 30 minutes during the first rise. It’s like giving your dough a little workout, helping to develop that gluten structure that’s gonna hold all those lovely bubbles.
Now, I gotta say, there’s something almost zen about watching your dough rise. It’s like you’re witnessing a little miracle in your kitchen. Just don’t get too attached—once it’s ready, you gotta knock that air out and shape it. Think of it as telling your dough, “Okay, time’s up! Let’s get serious now.”
So, as you embark on this fermentation journey, remember to enjoy the process. It’s not just about the end product (though that warm, crusty loaf is definitely the goal). It’s also about the little moments along the way—the smells, the textures, and yes, even the mess you make. Happy baking!
The Grand Unveiling: Baking, Slicing, and Savoring Your 900g Masterpiece
Alright, folks! The moment we’ve all been waiting for is finally here. You’ve put in the time, the love, and let’s be honest, probably a little flour on your face. Now it’s time to bake that glorious 900g loaf and get ready to show it off!
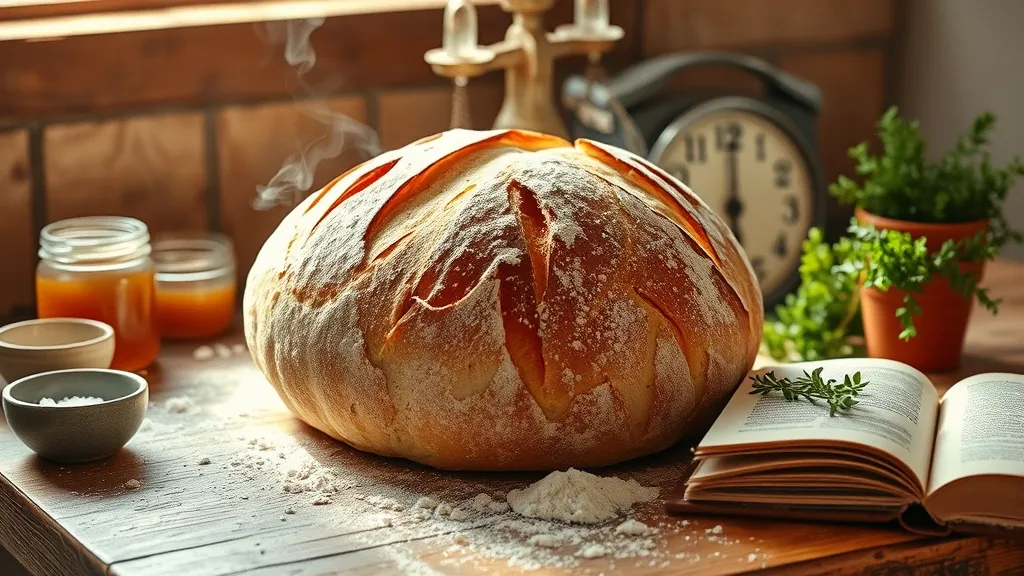
First off, preheat your oven to a toasty 220°C (that’s around 430°F for my American friends). It’s like waking up your oven from a cozy nap—let it get nice and warm while you prepare for the magic. When it’s all heated up, score the top of your loaf. A simple line or two will do the trick; it just helps the bread expand the way it wants to. Plus, it looks kinda fancy, right?
Now, toss that doughy beauty into the oven and get excited. You’ll want to bake it for about 30-35 minutes, but keep an eye on it. Every oven’s a little different—some are like that friend who takes forever to get ready, while others are speedy. You’re looking for that golden-brown color that’ll make your heart race. Trust me, when it’s done, your kitchen will smell like a bakery, and you might just start feeling like a professional baker (cue the chef’s hat).
- Tip: If you want that crusty exterior, throw a small pan of water at the bottom of the oven while baking. It creates steam and gives your loaf that perfect crunch. Plus, it’s a fun science experiment!
Once your loaf is baked to perfection, it’s crucial to let it cool for a bit. I know, I know! The temptation to dive in is real. But if you slice it too soon, you might end up with a gooey mess instead of beautiful slices. And nobody wants that disaster on their Instagram feed, am I right?
After about 15-20 minutes of cooling (which feels like forever), grab a serrated knife and start slicing. Aim for about 1-1.5 cm thick slices—unless you’re feeling rebellious and want giant chunks of bread. No judgment here! The first slice is always the trickiest, but don’t worry, it gets easier.
Now, for the best part: savoring your creation. Whether you slather it with butter, make a sandwich, or just eat it plain, that first bite is gonna be epic. You’ll probably feel a wave of pride wash over you. I mean, you just made bread! How cool is that?
So, there you have it! Your 900g loaf is ready to be enjoyed. Don’t be shy—share it with friends or family, or just keep it all to yourself and bask in your baking glory. Happy munching!