The Alchemy of 00 Flour: Unveiling the Secret Ingredient
Alright, let’s dive into the magic that is 00 flour. If you’ve ever wondered what makes Italian bread so darn delicious, it’s time to meet the secret weapon in your baking arsenal. 00 flour isn’t just some fancy term; it’s a game changer! Seriously, it’s like the superhero of flours, swooping in to save your loaves from mediocrity.
So, what’s the deal with 00 flour? Well, it’s milled from high-quality wheat and has a super fine texture, which is why it’s often used for making pasta and pizza dough. You know that chewy, airy crust you get at your favorite pizzeria? Yup, that’s the magic of 00 flour doing its thing. It’s got a lower protein content compared to all-purpose flour, which means it creates that perfect balance of tenderness and structure in bread. Think of it as the Goldilocks of flours—not too dense, not too light, but just right!
- Texture: The fine grind helps create a smooth dough that’s easy to work with.
- Absorption: It absorbs water differently, giving your bread that ideal hydration level.
- Flavor: Honestly, it just tastes better! It adds a bit of nuttiness that’s hard to beat.
Now, I know what you’re thinking: “Isn’t it just flour?” Well, kinda. But if you’re serious about baking, using 00 flour can elevate your bread to a whole new level. It’s like swapping out your ordinary car for a sports car—you’ll feel the difference immediately. Plus, it’s fun to say “double zero” when you’re buying it. Sounds fancy, right?
Here’s a little tip from my own baking adventures: don’t be afraid to experiment! If you can’t find 00 flour, mix some bread flour with all-purpose flour to get a similar texture. But trust me, if you can get your hands on some 00 flour, do it. Your taste buds will thank you, and you might just become the bread-baking wizard of your friend group. Who knows, maybe you’ll even get a “Best Bread” award at your next potluck—if that’s a thing, I’m starting it!
In the end, it’s all about finding that perfect flour that makes your baking journey a little more exciting. And with 00 flour, you’re not just making bread; you’re creating a masterpiece. So roll up those sleeves, grab that flour, and let’s get baking!
Knead to Know: Crafting the Perfect Dough
Alright, let’s get our hands a little messy and talk about kneading dough. Honestly, it’s kind of like therapy—just you, the dough, and a good ol’ workout for your arms. Who needs a gym when you have bread to make, right? But seriously, kneading is where the magic happens, so let’s dive into it.
First off, you wanna start with your 00 flour. This stuff is like the superhero of flours—super fine and perfect for making that dreamy, chewy crust we all crave. Once you’ve got your flour, mix it with water, salt, and yeast. It’ll look like a messy blob at first, and that’s totally okay. Embrace the chaos!
Now, onto the kneading. You’ll want to flour your countertop lightly—no one likes a sticky situation! Grab your dough and start folding it over itself. Push it down with the palm of your hand, then fold it over. Repeat this for about 10 minutes. You can time it if you want, but honestly, I just put on a good playlist and knead until my arms feel like jelly. It’s a workout, but hey, at least you’re getting bread out of it!
- Tip: If your dough is sticking like it’s auditioning for a role in a horror movie, don’t be afraid to add a little more flour. Just a sprinkle though—no one wants to end up with a brick!
- Personal Opinion: I love to sneak in a little dance while I knead. Who says you can’t have fun while making bread?
After your dough feels smooth and elastic, it’s time for the first rise. Place it in a lightly oiled bowl, cover it with a damp cloth, and let it chill for about an hour. This is your time to relax, maybe grab a snack, or even binge-watch an episode of that show you’ve been meaning to catch up on. Just don’t forget about your dough! You want it to double in size, and that’s when you know you did it right.
So there you have it! Kneading is both an art and a science, and once you get the hang of it, you’ll feel like a pro. Plus, there’s something super satisfying about seeing that dough transform under your hands. Just remember, practice makes perfect—and a little bit of love never hurts either!
The Art of Patience: Proofing for Perfection
Alright, let’s chat about proofing. It sounds all fancy and technical, right? But honestly, it’s just a fancy way of saying “waiting for your dough to rise.” And trust me, this waiting game is where the magic happens. If you’ve ever tried to rush this step, you probably know it can lead to sad, dense loaves that aren’t worth the butter you’d spread on them. So, let’s take a breath and embrace the art of patience.
First off, proofing is all about the yeast doing its thing. When you mix your ingredients and give them some time, those little yeast critters start working hard, munching on the sugars and producing carbon dioxide. This is what gives your bread that lovely airy texture and those glorious bubbles. I mean, who doesn’t love a good bread bubble?
Now, here’s the kicker: the timing can vary. It’s not a one-size-fits-all situation. Depending on the temperature of your kitchen, the type of flour you’re using (hello, 00 flour), and even the humidity, your dough might need more or less time to rise. So, don’t just set a timer and walk away! Keep an eye on it. A good rule of thumb is to let it double in size. But, if you’re feeling rebellious, poke it gently—if it springs back slowly, you’re golden.
- First rise: This usually takes about 1 to 2 hours, but again, listen to your dough. It’ll tell you when it’s ready.
- Shaping and second rise: Once you’ve shaped your dough into those rustic loaves, give it another proof. This can be shorter, around 30 minutes to an hour. You want it to puff up a bit.
While you’re waiting, you might as well prep your baking setup. Preheating your oven and getting your baking stone or Dutch oven ready can really help. And hey, maybe grab a snack while you wait—baking is a workout for the soul, after all!
So, in the grand scheme of things, proofing might seem tedious, but it’s totally worth it. The aroma of freshly baked bread wafting through your home? There’s nothing quite like it. Plus, patience is a virtue, right? And if you can nail this part, you’re on your way to mastering that rustic loaf. Just remember, good things come to those who wait!
The Grand Finale: Baking Your Rustic Masterpiece
Alright, you’ve put in the work, kneaded that dough like a pro, and now it’s time for the moment of truth: baking your beautiful rustic loaf. Honestly, this is where the magic happens, and it can be a bit nerve-wracking. But don’t worry, you got this!
First things first, preheat your oven. You want it blazing hot—like, 450°F (or about 230°C) hot. If you’re using a baking stone or steel, toss that in too. Let it heat up for at least 30 minutes. This step is crucial because that intense heat will give you that gorgeous crust we’re all dreaming about. If you skip this part, you might end up with more of a sad, pale loaf than a rustic masterpiece.
Now, here’s where things get fun: scoring your bread. Grab a sharp blade or a lame (yes, that’s what they call it, and honestly, it sounds a bit funny). Scoring is like giving your bread a little haircut—don’t be shy! It allows steam to escape and helps your loaf rise beautifully in the oven. Plus, it just looks super fancy. I mean, who doesn’t want to impress friends with their artisan skills?
Once you’ve scored it, it’s time to get that loaf in the oven. If you’re feeling adventurous, you can toss some ice cubes in a pan at the bottom of the oven right as you put the bread in. It creates steam, which helps develop that crust even more. But if you’re not up for the extra step, don’t sweat it. Just pop it in and let the oven do its thing!
Set a timer for about 25 to 30 minutes. You want it golden brown and crusty. The best way to know if it’s done? Tap the bottom of the loaf—if it sounds hollow, you’re golden. If not, give it a few more minutes. And trust me, the smell wafting through your kitchen will be pure torture while you wait.
Once it’s out, let it cool on a wire rack. I know, I know, it’s hard to resist the urge to slice right in, but seriously, let it chill for a bit. This will help the interior finish cooking and improve the texture. Plus, it gives you time to take a few selfies for Instagram—because, let’s be real, nothing says “I’m a baking master” like a perfectly rustic loaf on your feed.
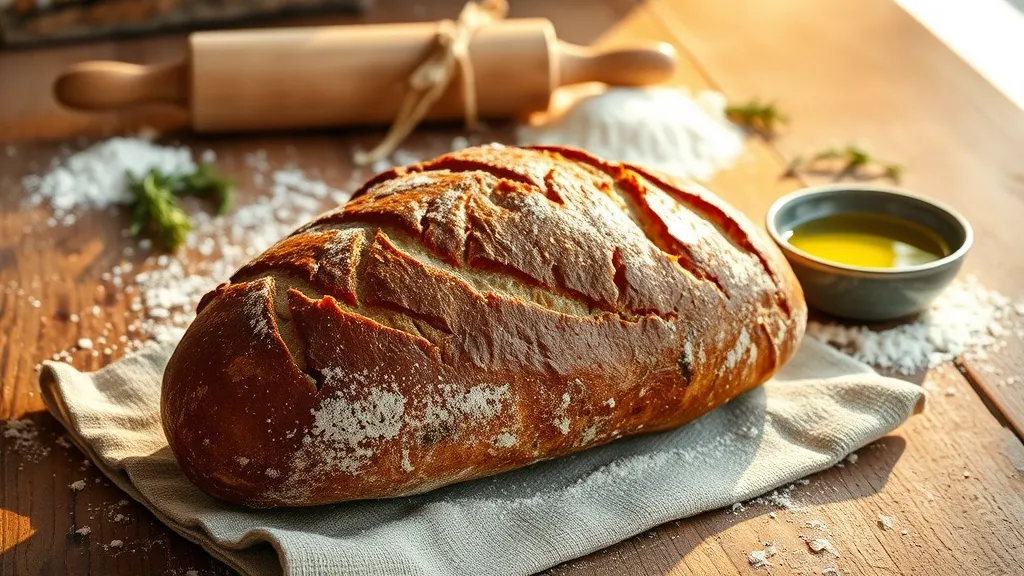
And there you have it, your rustic loaf is ready to be devoured! Whether you slather it in butter, dip it in olive oil, or just munch on it plain, it’s gonna be awesome. Enjoy every crumb—you earned it!