The Sweet Science of Baking: Why Precision is Your Best Friend
You know, baking is kinda like a magical science experiment, and if you want it to work out, you gotta stick to the recipe. I mean, imagine you’re trying to make a cake, and you just throw in a handful of flour and a splash of milk—sounds like a disaster waiting to happen, right? Precision is key, my friends!
When we talk about baking, we’re not just throwing ingredients together willy-nilly. Nope! It’s all about the right measurements and the perfect timing. Each ingredient plays its own little role; flour gives structure, sugar adds sweetness, and eggs? Well, they’re like the glue holding everything together. If you go too heavy on the flour or skimp on the sugar, you might end up with a cake that’s more like a brick than a delicious dessert. No one wants to serve a doorstop at their party!
So, why is precision so important? Well, baking is a science, and in science, every detail counts. Here are a few reasons why you should treat your measuring cups and spoons like they’re your best friends:
- Consistency: When you measure your ingredients the same way every time, you get the same great results. No one likes a cake that turns out different every time you make it. You want your friends to rave about it, not wonder if you’ve lost your baking touch!
- Texture: Ever had a cake that was too dry or too dense? Yep, that’s usually a result of not measuring correctly. Baking is all about that perfect balance, and without precision, you might just end up with a cake that’s a bit… well, sad.
- Flavor: The right amount of each ingredient brings out the best flavors. You wouldn’t want to bite into a chocolate cake that tastes like a mouthful of salt, would you? Yikes!
Now, don’t get me wrong, I’m all about having fun in the kitchen. So, if you wanna add a little twist or flavor here and there, go for it! Just make sure you’re measuring those base ingredients right. Think of it like a dance—you gotta know the steps before you can freestyle!
In short, if you want to master baking and whip up that irresistible 9-inch cake we’re about to dive into, precision is your best friend. Treat it well, and your cakes will thank you with every delicious bite!
Gathering Your Ingredients: The Symphony of Flavors in a 9-Inch Cake
Alright, so let’s talk about the magic that happens when you gather your ingredients. Making a 9-inch cake isn’t just about throwing stuff in a bowl and hoping for the best. Nah, it’s like conducting a symphony, where each ingredient plays its part to create a delicious masterpiece. Seriously, it’s kinda like baking is the culinary version of an epic movie, and you’re the director. So, what do you need?
- Flour: Start with good ol’ all-purpose flour. It’s the backbone of your cake. I mean, without it, you’d just have a puddle of goo, right?
- Sugar: Granulated sugar is your best friend here. It sweetens things up and helps that beautiful cake rise. You could go fancy and use brown sugar for that extra caramel flavor, but hey, let’s keep it simple for now.
- Baking Powder: This little guy is the leavening agent that’ll make your cake fluffy and light. Just don’t confuse it with baking soda; they’re not interchangeable, kinda like cats and dogs.
- Salt: Yep, a pinch of salt is crucial. It balances the sweetness and enhances all the flavors. Think of it as the secret agent in your cake.
- Eggs: These are like the glue that holds everything together. They add moisture and richness. Plus, cracking eggs is kinda fun, right? Just try not to get any shells in the mix!
- Butter: Use unsalted butter for that creamy goodness. Make sure it’s softened, so it blends well. Nothing worse than trying to mix cold butter into a batter. Trust me, it’ll be a workout.
- Milk: Whole milk is what I usually go for, but if you’re feeling adventurous, try buttermilk for a tangy twist.
- Vanilla Extract: Ah, the magic potion! It adds a lovely aroma and flavor. Don’t skimp on this one; go for pure vanilla extract if you can.
Once you’ve rounded up all these ingredients, you’re ready to rock and roll. It’s kinda like assembling the Avengers, but for baking. Each ingredient brings something unique to the table, and together, they create a cake that’s greater than the sum of its parts. So, gather your stuff, put on your favorite tunes, and let’s get this baking party started!
Whisking Up Magic: Step-by-Step to Cake Perfection
Alright, folks! Let’s dive into the delightful world of cake-making. It’s honestly one of my favorite things to do. There’s just something about the smell of baking cake that feels like home, right? So, grab your apron (or just a really big t-shirt, I won’t judge) and let’s make some magic happen!
Step 1: Gather Your Ingredients
First things first, you gotta have your ingredients ready. You don’t wanna be halfway through mixing and realize you’re out of sugar. Trust me, it’s a real mood killer! Here’s a quick list of what you’ll need:
- 2 cups all-purpose flour
- 1 ½ cups sugar
- ½ cup unsalted butter, softened
- 1 cup milk
- 3 ½ teaspoons baking powder
- 1 teaspoon vanilla extract
- ½ teaspoon salt
- 3 large eggs
Now that you’ve got everything, let’s move on!
Step 2: Preheat & Prep
Preheat your oven to 350°F (or about 175°C for my friends across the pond). While that’s warming up, grease your 9-inch round cake pans. You can use butter or cooking spray—whatever floats your boat. Honestly, I prefer butter because it makes everything taste better. Just sayin’!
Step 3: Cream the Butter and Sugar
In a big mixing bowl, cream the softened butter and sugar together until it’s nice and fluffy. This is where the magic starts, folks! Use a hand mixer or stand mixer, and don’t be afraid to let loose. Just don’t let that sugar fly everywhere like confetti at a parade. We want cake, not a mess!
Step 4: Add the Eggs
Now, crack those eggs in, one at a time. Make sure to mix well after each addition. If you get a bit of shell in there, it’s okay—just fish it out like you’re on a treasure hunt. Who doesn’t love a little adventure in baking?
Step 5: Combine Dry Ingredients
In a separate bowl, whisk together the flour, baking powder, and salt. Gradually add this dry mix to your wet ingredients, alternating with the milk. Start and end with the flour mixture. It’s like a cake dance: flour, milk, flour, milk, cha-cha-cha!
Step 6: Bake It Up!
Pour your batter evenly into the prepared pans and pop them into the oven. Bake for about 30-35 minutes, or until a toothpick comes out clean. Just don’t open the oven too much. I know it’s tempting to peek, but resist the urge! You want that cake to rise and not sink like a sad balloon.
Step 7: Cool and Decorate
Once baked, let the cakes cool in the pans for about 10 minutes, then transfer them to a wire rack. Now’s the fun part—decorating! You can frost it, drizzle it, or just eat it plain. No judgment here!
And there you have it! A simple, easy-to-follow guide to baking a 9-inch cake that’ll make everyone swoon. So go ahead, make some cake and share it with your friends (or keep it all to yourself, I won’t tell!).
Slicing into Happiness: Serving and Storing Your Masterpiece
Alright, so you’ve baked this beautiful 9-inch cake, and now it’s time to dig in—literally! Serving your cake can be just as fun as baking it, so let’s talk about how to slice it up and store any leftovers (if there are any, which I seriously doubt).
First things first, when it’s time to slice, grab a sharp knife. You don’t want a dull blade ruining your cake experience. A warm knife works wonders too! Just run it under hot water, dry it off, and you’re golden. This helps to make cleaner cuts, and let’s be honest, no one wants a crumbled mess on their plate, right?
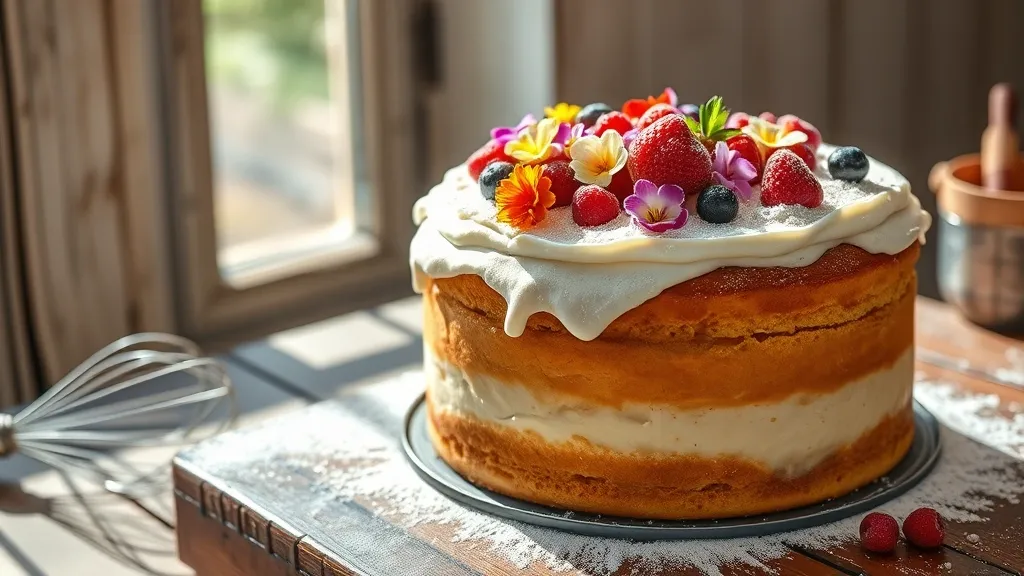
Now, how do you want to serve it? You can go fancy with a dollop of whipped cream or some fresh berries on the side, or you could just plop a slice on a plate and call it a day. Honestly, I’m in the latter camp most of the time. But hey, whatever makes you happy!
- Classic: Just serve it plain and let the cake shine on its own.
- Dress it up: Add some icing sugar on top or a drizzle of chocolate sauce for that extra flair.
- Pair it: Serve with coffee or tea for a cozy vibe—my personal favorite!
Now, let’s chat about storage because, let’s face it, we all want our cake to last as long as possible. If you somehow have leftovers (kudos to you!), store your cake in an airtight container. This helps keep it moist and fresh. If you don’t have one, just cover it tightly with plastic wrap. I mean, it’s not the most glamorous option, but it works!
Refrigerating cake can dry it out, so if you’re planning to eat it within a couple of days, just leave it on the counter. But if you need to keep it longer, the fridge is your friend. You can also freeze slices for those days when you really need a cake fix. Just wrap each slice in plastic wrap and then pop it in a freezer bag. When you’re ready to indulge, just let it thaw at room temperature or zap it in the microwave for a few seconds. Voila!
In the end, whether you’re serving it up at a party or enjoying a late-night slice in your pajamas (no judgment here!), just remember to savor every bite. After all, you’ve put in the hard work, and you deserve it!