The Flour That Changed the Game: Why 00 Flour Is Your New Best Friend
So, let’s talk about flour. Not just any flour, but the star of the show: 00 flour. If you’ve ever wondered why your homemade pizza doesn’t taste quite like the ones from your favorite pizzeria, this magical ingredient might just be the missing link. Seriously, it’s like the secret weapon that turns your kitchen into a mini Italian pizza joint.
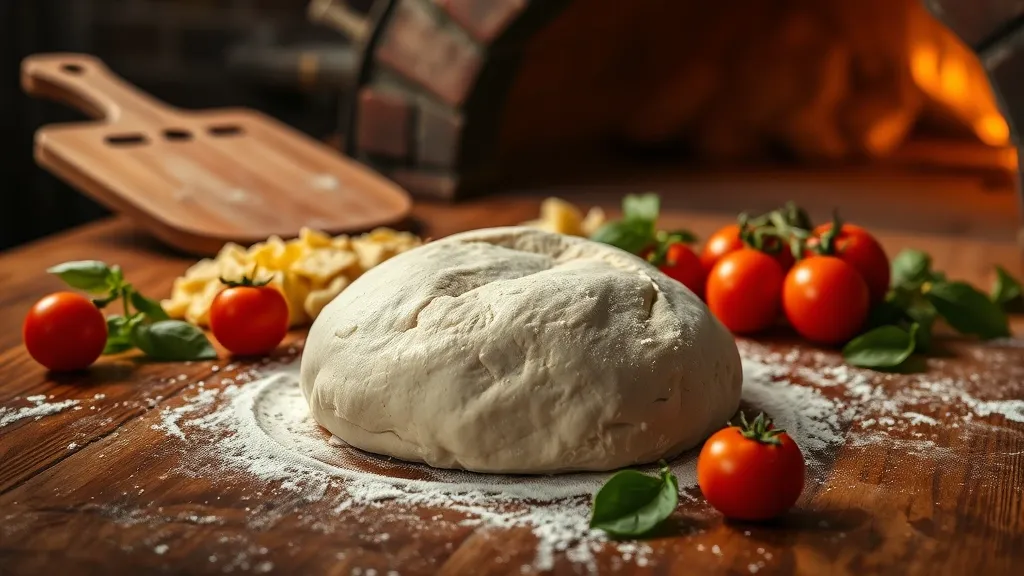
First off, what’s the deal with 00 flour? Well, it’s milled super finely, which means it creates a silky-smooth dough that’s easy to work with. You know how some flours can be gritty or leave your dough feeling like a brick? Not this one! It’s like the flour version of butter – smooth and rich. And let’s be real, who doesn’t want to work with a dough that feels like a dream in your hands?
But wait, there’s more! The protein content in 00 flour is just right for pizza making. It’s usually around 11-12%, which is perfect for getting that chewy texture we all crave. You want a crust that’s crispy on the outside and soft on the inside, right? That’s where 00 flour shines. It’s practically begging to be tossed in the air like those fancy chefs do (no pressure, though!).
- Texture: Soft and elastic, making it easy to stretch and shape.
- Flavor: It has a subtle nuttiness that enhances your dough without overpowering it.
- Versatility: Not just for pizza! You can use it for pasta, bread, or even pastries.
Now, I know what you’re thinking: “Isn’t it just flour?” Well, sort of, but it’s like comparing a regular old sedan to a sleek sports car. Sure, they both get you from point A to point B, but one’s way more fun to drive! Plus, using 00 flour is like giving your pizza a little luxury upgrade. And who doesn’t want to feel fancy while making dinner?
In my experience, once you try 00 flour, it’s hard to go back to the regular stuff. It’s like discovering a hidden gem in your pantry. You’ll be wondering how you ever made pizza without it. So, if you want to impress your friends, family, or even just yourself, go ahead and grab a bag of 00 flour. Trust me, your taste buds will thank you!
Knead for Speed: Crafting the Perfect Dough with 00 Flour
So, you’ve got your 00 flour ready, and you’re itching to make that pizza dough. Let’s get into the fun part—kneading! Now, I know what you might be thinking: “Kneading? Isn’t that just a fancy word for working out my arms?” Well, kinda! It’s all about getting that dough to the right texture, and trust me, it’s worth the effort.
First off, when you mix your flour with water, yeast, and a dash of salt, you’re creating a magical little blend. It’s like a party in a bowl, and you’re the DJ. Start mixing with a wooden spoon or even your hands (don’t be shy!). Once it starts coming together, that’s when the real fun begins. Time to knead!
Now, here’s my little tip: if you’re not feeling the whole hand-kneading thing, you can totally use a stand mixer with a dough hook. But where’s the fun in that, right? Getting your hands in there is so satisfying. Just push down and fold, push down and fold. It’s like a little workout, and you can pretend you’re training for the Pizza Olympics. Who wouldn’t want that?
Keep kneading until the dough is smooth and elastic. This usually takes about 8-10 minutes. If it’s sticking to your hands like it’s having a tough time letting go, sprinkle a bit more flour. But be careful not to over-flour it; we want that perfect balance. Think of it as a delicate dance—you want to lead, but you don’t want to step on its toes.
After you’ve kneaded your dough, let it rest. This is so important! Cover it with a damp cloth or plastic wrap, and let it chill for at least an hour. This resting period lets the gluten relax, which means when you roll it out later, it won’t just spring back like a rubber band. And no one wants that.
Once it’s puffed up and looking all cozy, you can shape it into balls. I usually go for about 250 grams each if you’re making individual pizzas. Just make sure to give them a little more time to rise before you roll them out. It’s like letting your dough take a nap—it’ll thank you later!
So, there you have it! Kneading is more than just a step; it’s a whole experience. Get your hands messy and enjoy the process. After all, the best pizza is made with love (and maybe a little elbow grease).
Rise and Shine: Mastering Fermentation for Flavor and Texture
Alright, let’s dive into the magical world of fermentation! If you thought making pizza dough was just about mixing flour and water, think again. Fermentation is where the real magic happens, folks. It’s kind of like the secret handshake of the pizza-making club. You want that pizzeria-quality crust? You gotta let it rise and shine.
First off, let’s talk about yeast. This little guy is like the life of the party. When you mix it into your dough, it starts munching on the sugars, and in return, it produces carbon dioxide and alcohol. Sounds fancy, right? But really, it’s just a bunch of tiny bubbles getting to work, making your dough rise and giving it that airy texture we all love. It’s like a workout for your dough—who knew it could get so pumped?
Now, the fermentation time is crucial. For a classic pizza dough, you can let it ferment for about 24 hours in the fridge. This slow fermentation allows for deeper flavors to develop. Think of it like letting a fine wine breathe—except it’s dough, and you probably shouldn’t sip on it. A longer fermentation means more complex flavors. You’ll get this beautiful, nutty taste that just can’t be replicated in a quick, rushed dough. Plus, it makes the dough super stretchy, which is key for that perfect crust.
- Short fermentation: Quick and easy, but you’ll miss out on those deep flavors.
- Long fermentation: Takes patience, but oh boy, is it worth it!
And here’s a little tip from me to you: don’t be afraid to experiment! You can even add a bit of sourdough starter to your dough for an extra kick. Just imagine that tangy flavor marrying with the richness of 00 flour—it’s a match made in pizza heaven! I mean, who doesn’t want to impress their friends with homemade pizza that has that pro-level taste?
So, while you’re waiting for your dough to rise, maybe grab a slice of cake or something—just don’t forget about your dough! The waiting game is tough, but trust me, it pays off in the end. Your taste buds will thank you when they get a taste of that beautiful, bubbly crust. Now go on, let that dough rise and shine!
Bake Like a Pro: Transforming Your Home Oven into a Pizza Powerhouse
So, you’ve got this amazing 00 flour pizza dough ready to go, but now you’re staring at your regular ol’ home oven thinking, “Can I really make pizzeria-quality pizza in this thing?” The answer is a resounding yes! With a few tweaks and some clever tricks, you can turn that humble oven into a pizza powerhouse. Let’s dive into how to make your home pizza game strong!
First off, preheating is your best friend. Seriously, don’t skip this step! Heat that oven to the highest temperature it can go—usually around 500°F (or higher if you’re lucky). Let it hang out at that temperature for at least 30 minutes. This isn’t just warming up; it’s giving your oven time to really heat up and mimic those fancy pizza ovens. Think of it as letting the oven get its groove on.
Next, let’s talk pizza stones or steels. If you don’t have one, go get one. Like, right now. They’re game-changers! These beauties retain heat like nobody’s business and help you achieve that crispy crust. Just place it on the middle rack while preheating. If you’re in a pinch and don’t have one, an upside-down baking sheet can work in a jam, but I promise, once you try a stone or steel, you’ll never look back.
- Pro tip: When you’re ready to bake, sprinkle some cornmeal on the stone to prevent sticking. No one wants a pizza that’s glued to the surface like it’s got commitment issues!
- Another pro tip: Use a pizza peel to transfer your pizza. If you don’t have one, a cutting board works too. Just be sure to flour it well so the dough slides right off.
Now, let’s not forget about broiling! Once your pizza is in the oven, switch on the broiler for the last minute or two. This gives you that bubbly, slightly charred look that’s oh-so-appetizing. But keep a close eye on it! You don’t want to turn your masterpiece into a charred disaster. Trust me, I’ve learned that the hard way.
And hey, don’t be afraid to experiment! Pizza is all about personal taste. Try different toppings, sauces, or cheeses. Just because you’re at home doesn’t mean you can’t get a little wild. Who says pineapple doesn’t belong on pizza? (I’m on team pineapple, by the way!)
So, there you have it! With a bit of practice and these tips in your back pocket, you’ll be churning out pizzas that could give your local pizzeria a run for their money. Now, go forth and bake like a pro!